Introduction
These S3 buckets are disregarded private to prevent an unfortunate accident of private data from becoming public. Permit public access in S3 buckets of objects or files can be done by either creating public access on the individual objects or creating public access to the entire bucket.
To create an S3 bucket public we will need to create an S3 bucket just like a standard private bucket, and then enable public access settings.
Steps to create a public AWS S3 bucket:-
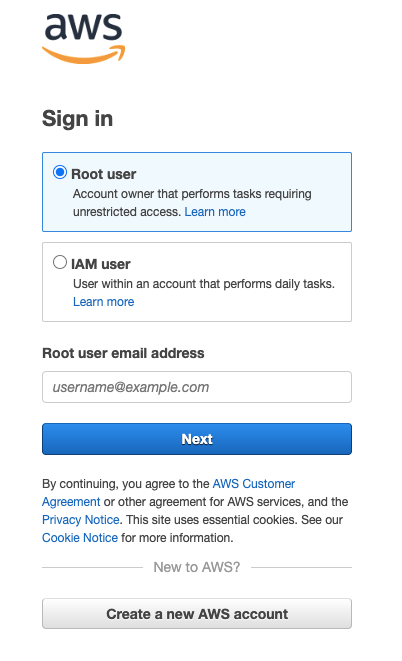
- Login to AWS Account:-
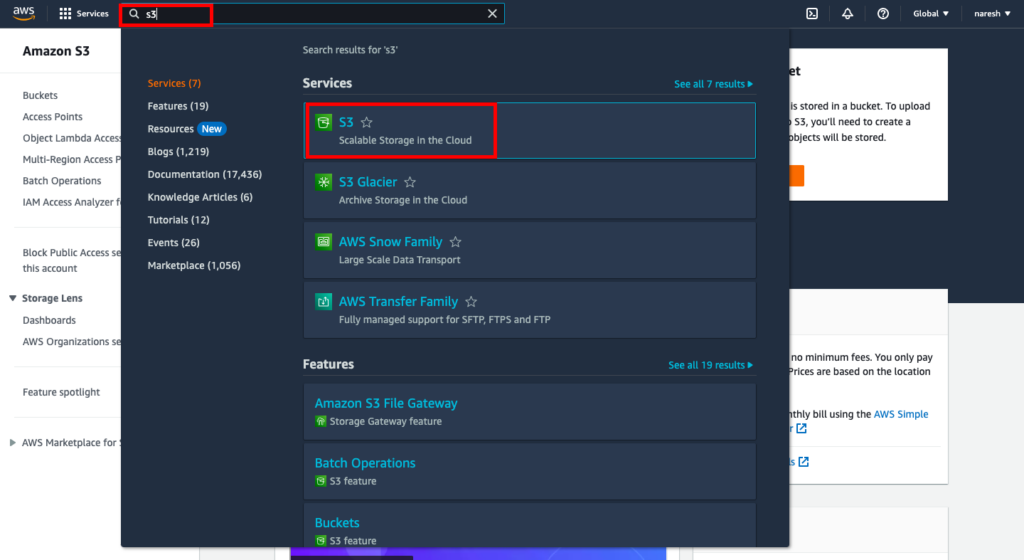
- Go to the search bar & search S3.
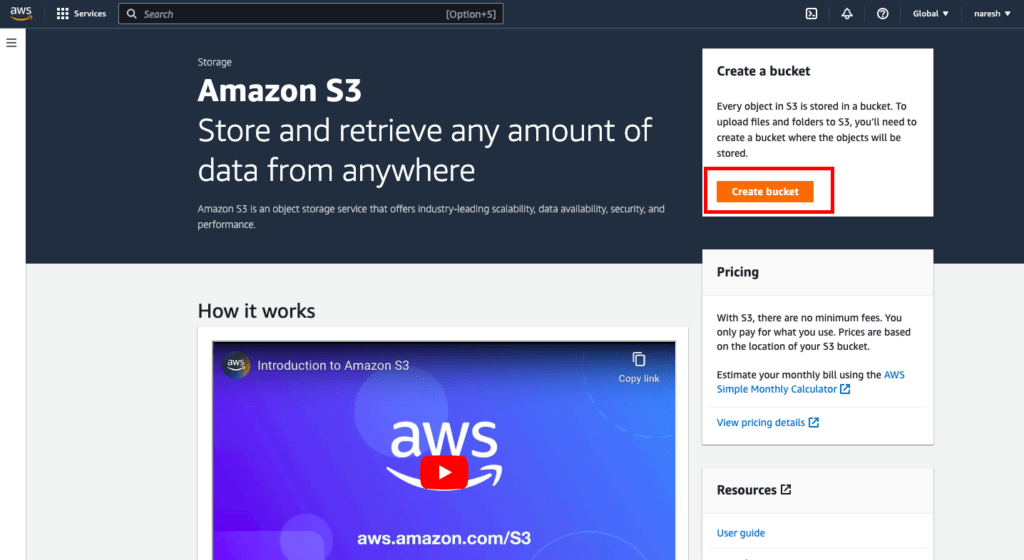
- From the right side, Now click on the create bucket button.
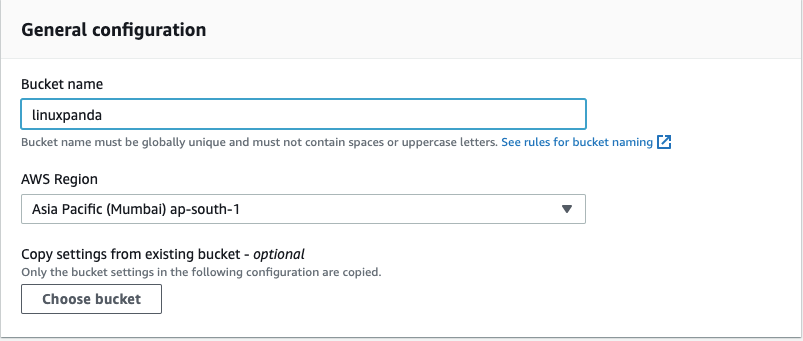
- After clicking the create bucket, Now enter your new bucket name in the bucket name section. The bucket name should be a unique name.
- Next, select the AWS region in which you have to create the bucket.
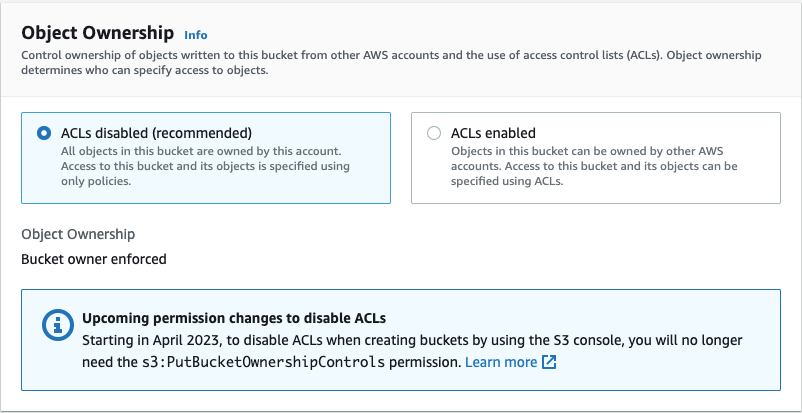
- Select the ACLs disabled option.
Using a bucket policy instead of ACLs to share data with users outside of your account simplifies permissions management and auditing.
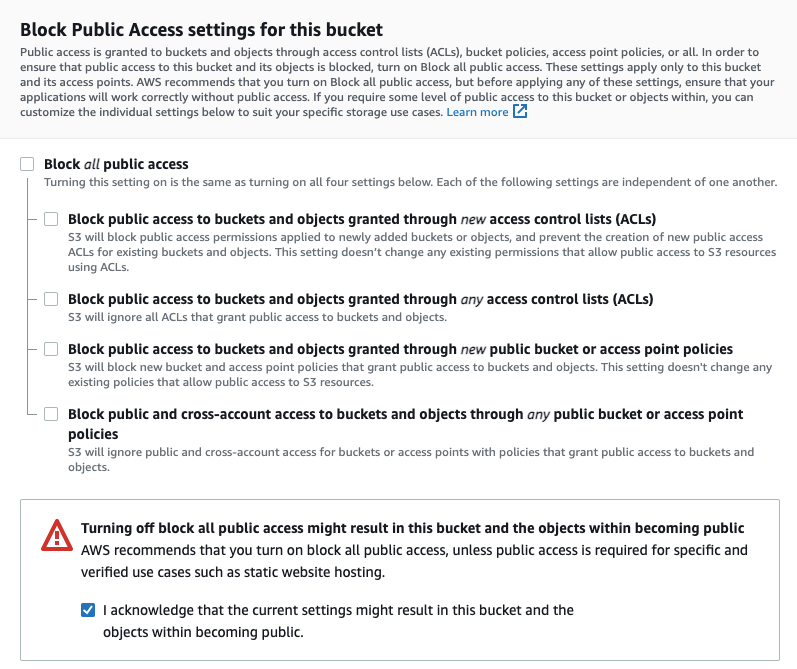
- Uncheck the Block all public access, As we have mentioned in the screenshot.
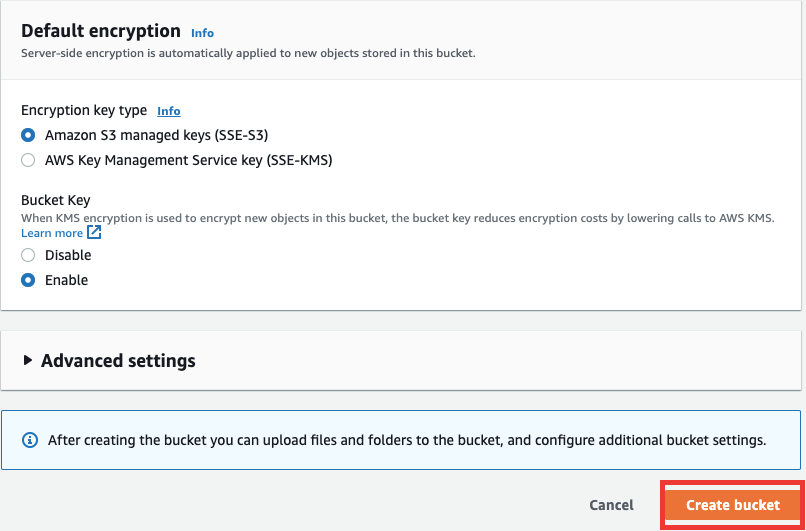
- Remaining the all settings on default, Now click on the Create Bucket button from the bottom right side.
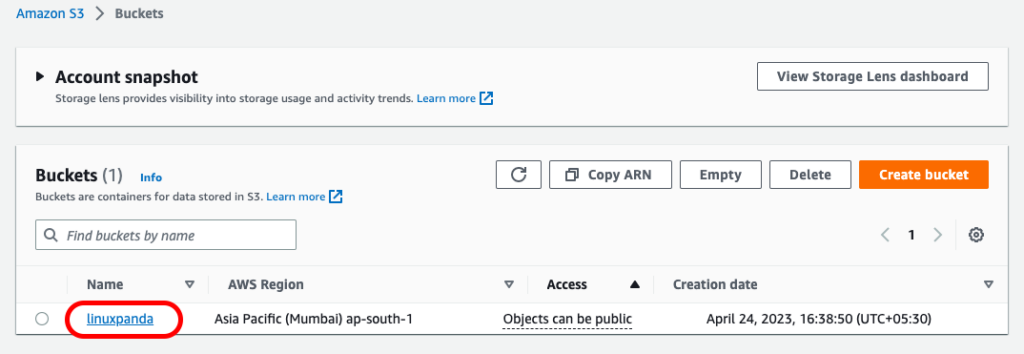
Finally, The AWS S3 bucket has been created successfully.
- After the created bucket go to the bucket section and click on the bucket name as you have created previously.
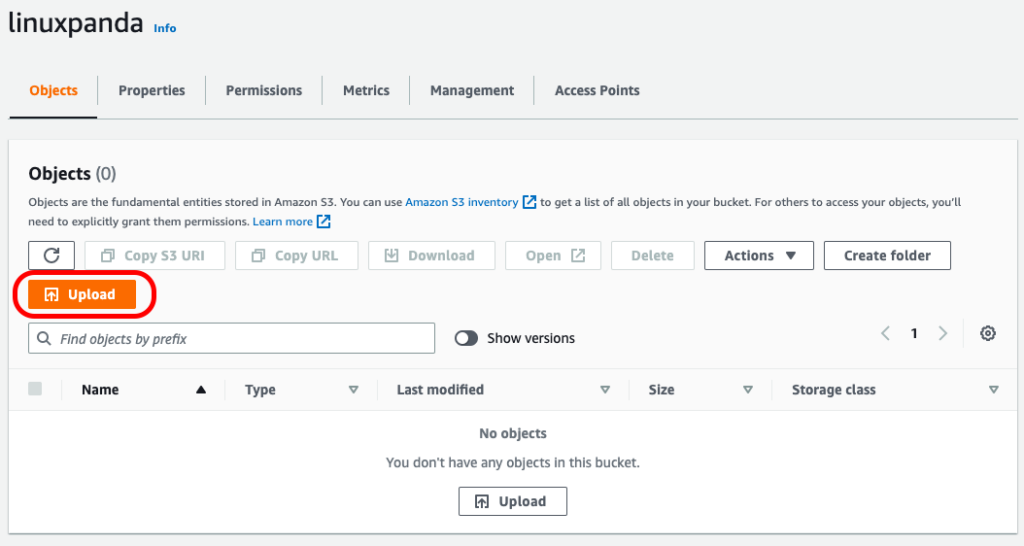
- Now, You have to upload the object from your system, Click on the Upload button.
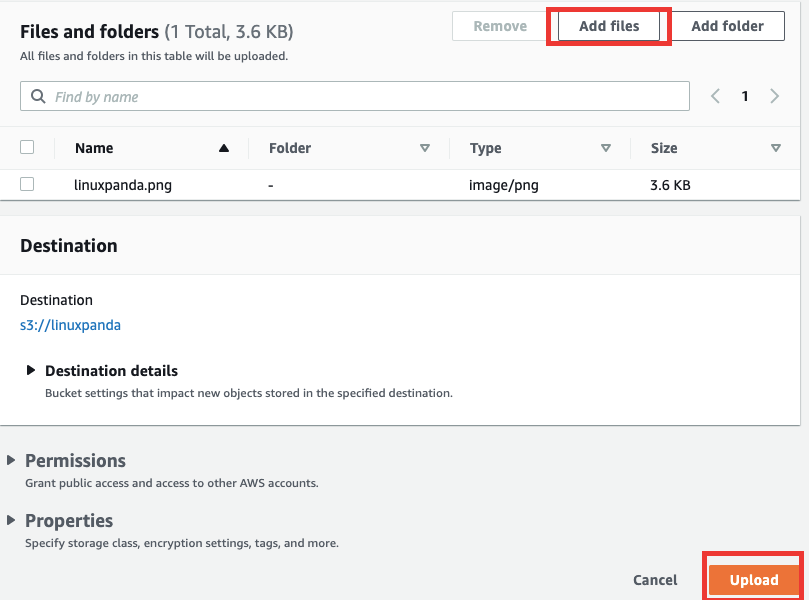
- Now, click on the Add Files button.
- In the file selection dialog box, find the file that you want to upload, choose it, open it, and then click on the bottom right side Upload button.
Now we make the s3 bucket public
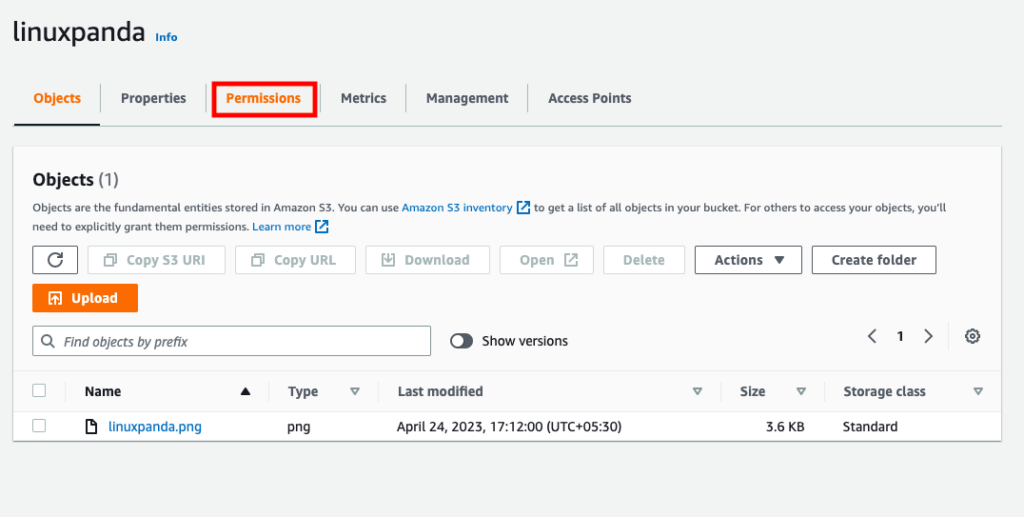
- To make the S3 bucket public. first, we go to the bucket permissions section. As we have mentioned in the screenshot.
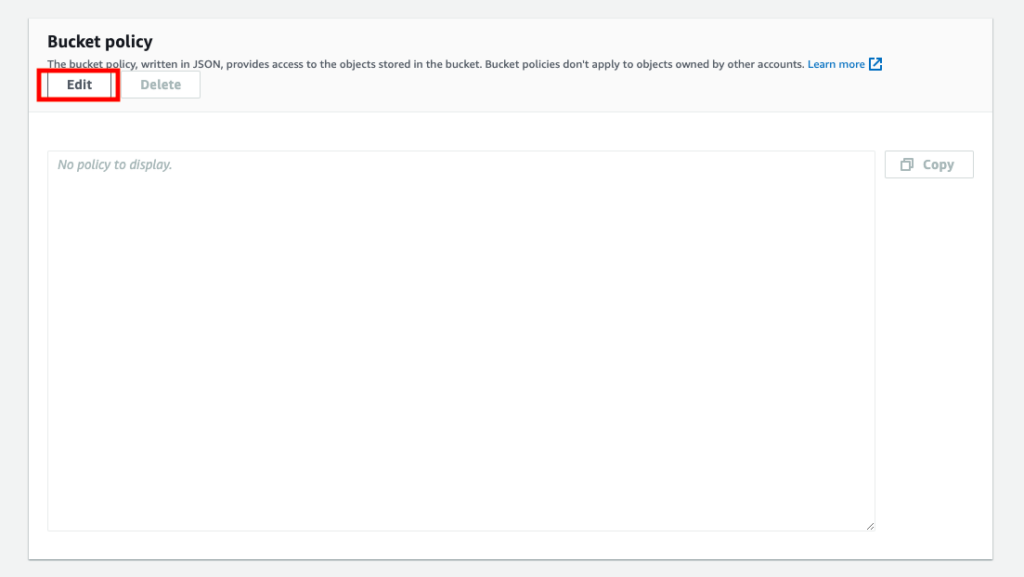
- After entering in bucket’s permissions section, Then scroll Down & Go to the bucket policy section as mentioned in the screenshot.
- Now click on the Edit button.
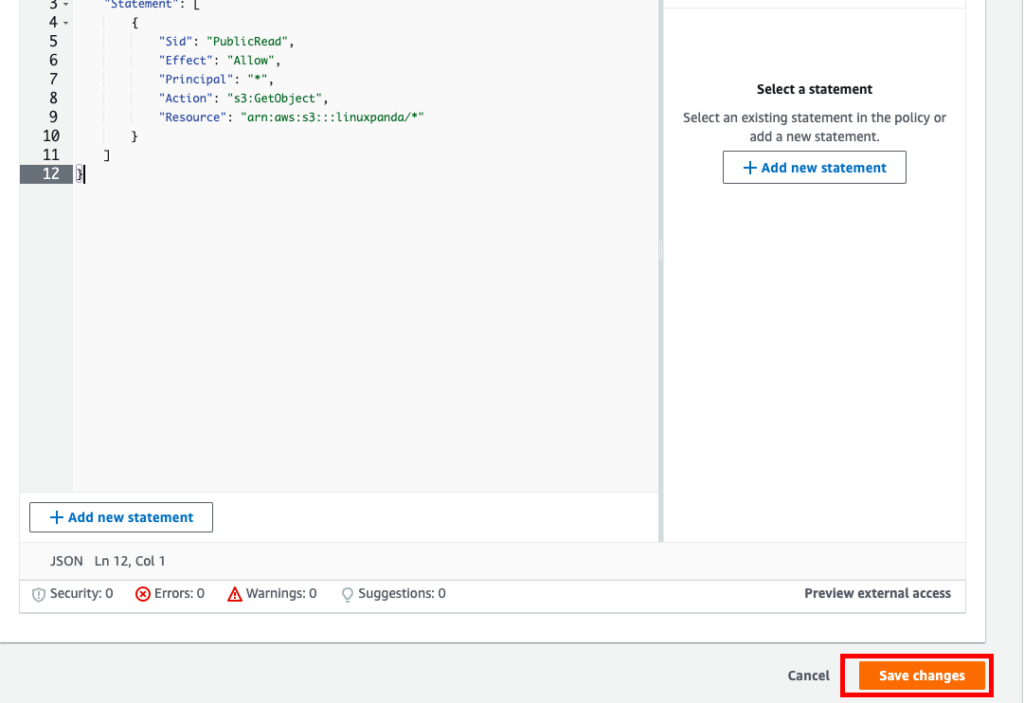
- Paste the following policy to grant public read access to all objects in your S3 bucket.
{
    "Version": "2012-10-17",
    "Statement": [
        {
            "Sid": "PublicRead",
            "Effect": "Allow",
            "Principal": "*",
            "Action": "s3:GetObject",
            "Resource": "arn:aws:s3:::linuxpanda/*"
        }
    ]
}
Note:- Replace Linuxpanda with your own bucket name.
- After pasting the code and making all the changes then go to the bottom right side and click on the Save Changes button.
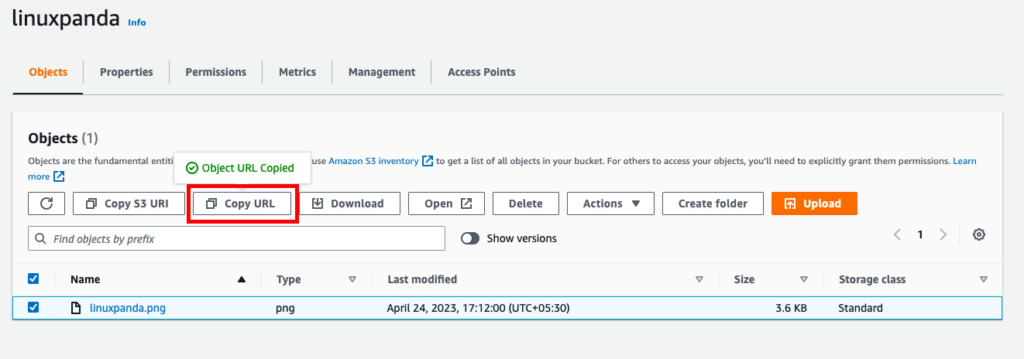
- After successfully adding the bucket policy, Now click on the bucket object and copy the Copy URL. As we have mentioned in the screenshot.
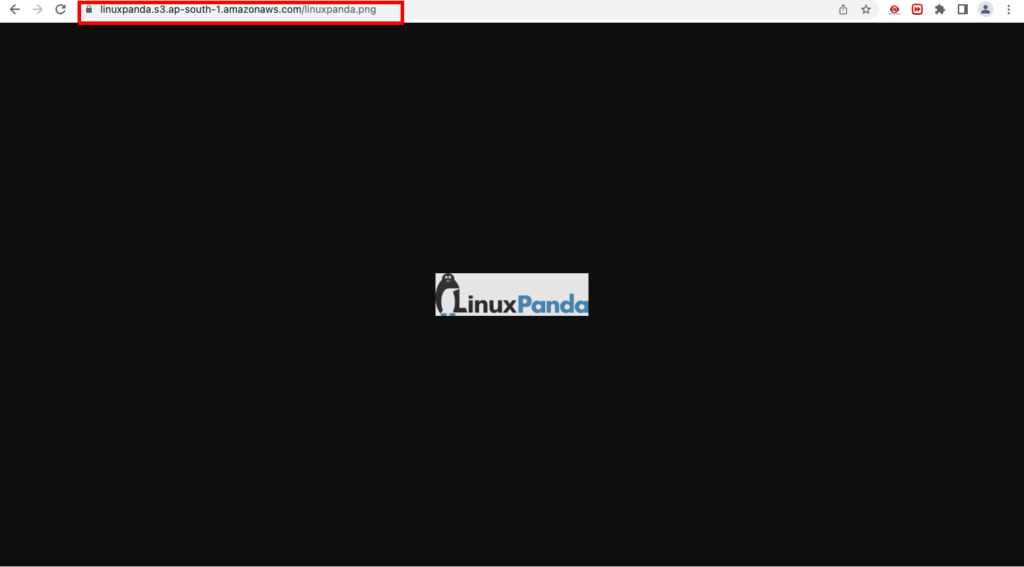
- Enter the Copy URL in the browser. Finally, You can view your object using a publicly accessible URL.
conclusion
So, now we know how to create a public AWS S3 which is usually private by default.
Creating a public AWS S3 bucket is a simple process that can be completed in just a few steps. By following the steps outlined above, you can easily create a public AWS S3 bucket and start uploading and sharing your data with others. However, it’s important to note that making your bucket public can have security implications, so it’s crucial to configure the access control settings carefully and follow AWS security best practices. With proper configuration and management, AWS S3 can provide a highly scalable, secure, and durable cloud storage solution for your data storage needs.
FAQ’s
An Amazon S3 (Simple Storage Service) bucket is a highly scalable object storage service that allows you to store and retrieve files or data from anywhere on the web.
Yes, there are security risks associated with making an S3 bucket public. Anyone on the internet can access and download the files stored in the bucket. You need to be careful about what you store in the bucket and who has access to it. It’s best to use AWS security features to control access to the bucket and encrypt the data stored in it.


Leave a Reply