Zoho Mail is one of the best mail service providers in the market, and it offers clean, fast, and provides the best protection from fake mails. It is a secure, privacy-guaranteed, ad-free, and encrypted mail service. Zoho mails also support mobile. Create or Migrate the Mail service to Zoho mail.
Create Zoho Account
- When you visit the Zoho Mail page. You will see the price list of Zoho Mail, there is a
FOREVER FREE PLANwhich is the best plan for a normal user. If you register for the first time on Zoho then your Zoho mail account will comes under theForever Free Plan.

- First we have to register an account on Zoho Mail. Click For the Zoho Sign-up Page here.
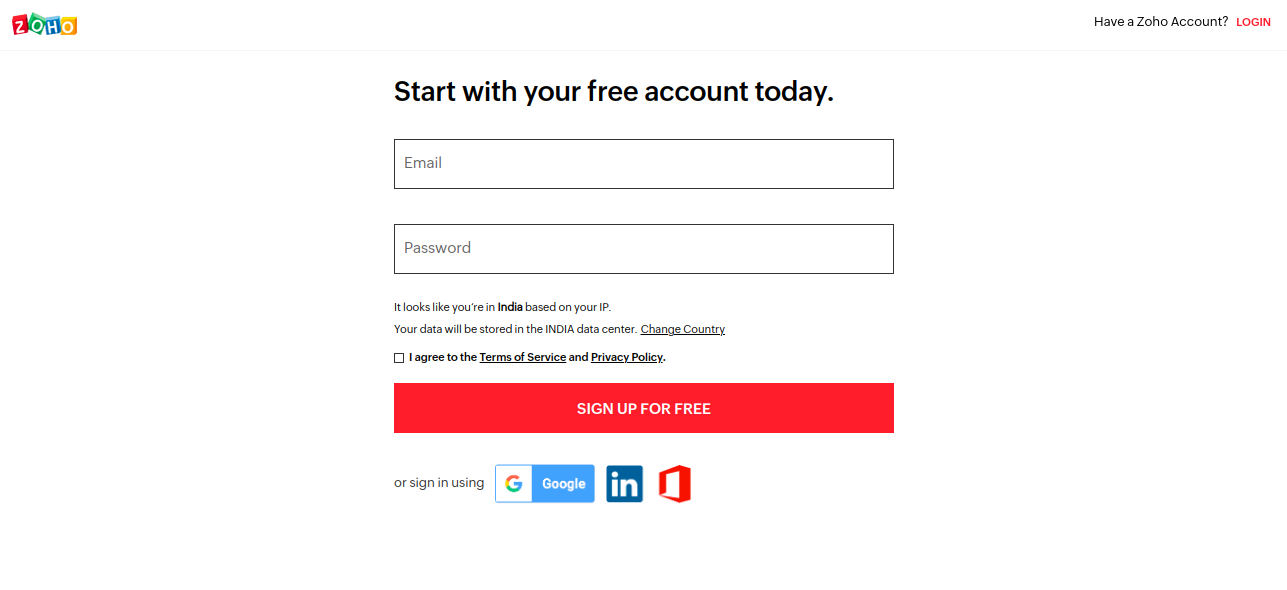
Fill in the Email and password details then click on SIGN UP FOR FREE.
- Click on the
Mail.
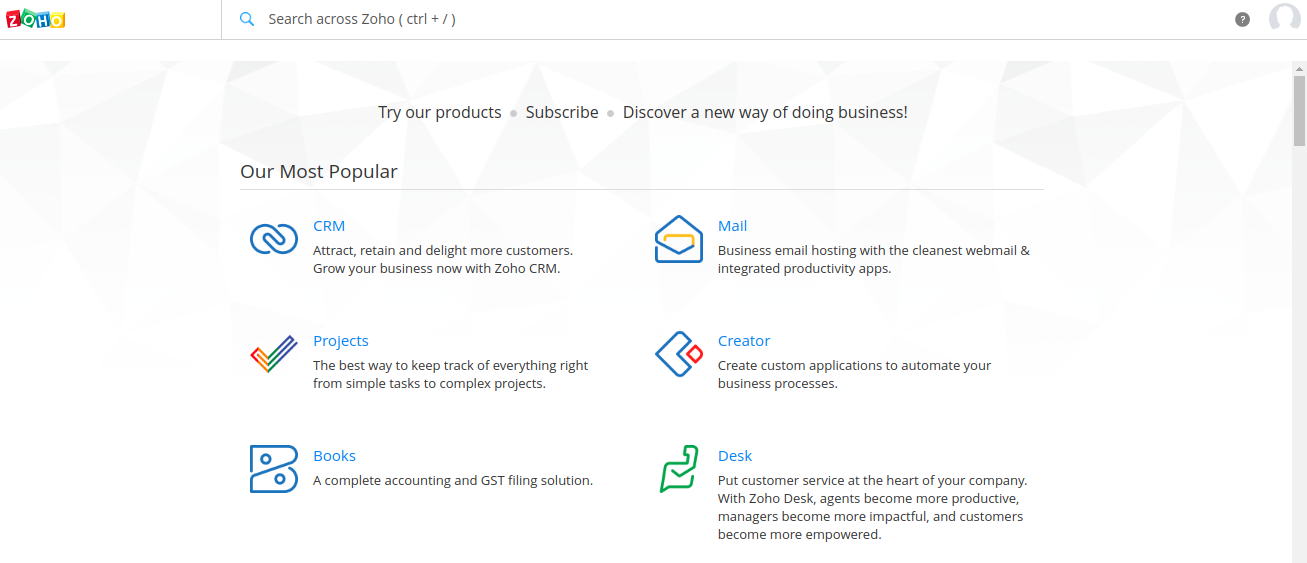
- It will ask for mobile verification. Provide your number and verify it. After this you will see this page.

If you want to create the mail for your domain, choose the first option.
If you just want to create an email with zohomail.in, choose the second option.
Now you need to verify your Domain.
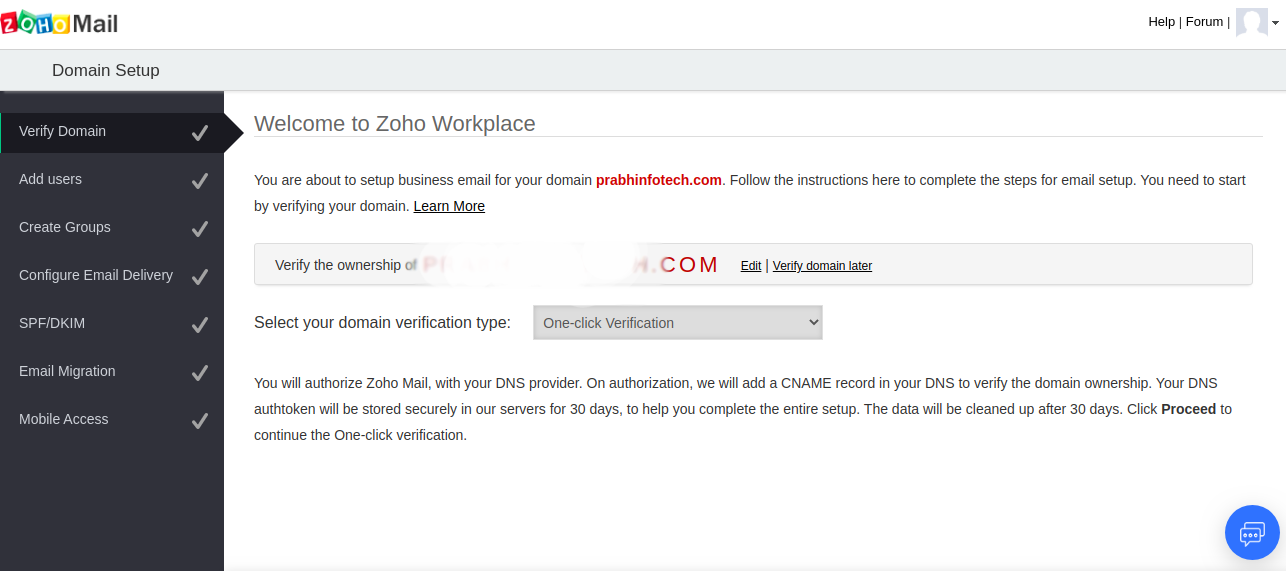
Select One-click verification. It will redirect to your hosting account. Enter the details of your hosting account, It will automatically verify your domain.
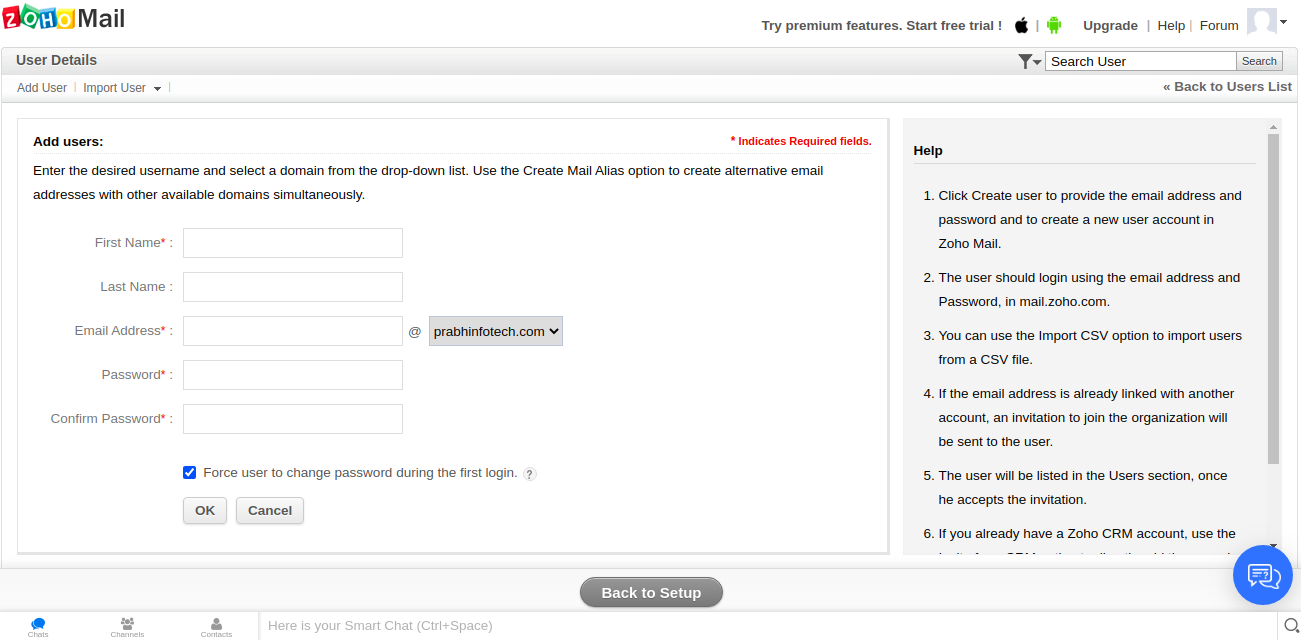
- Add the User for mail account which you want to create.

- Click on the
Proceed to Add Users:
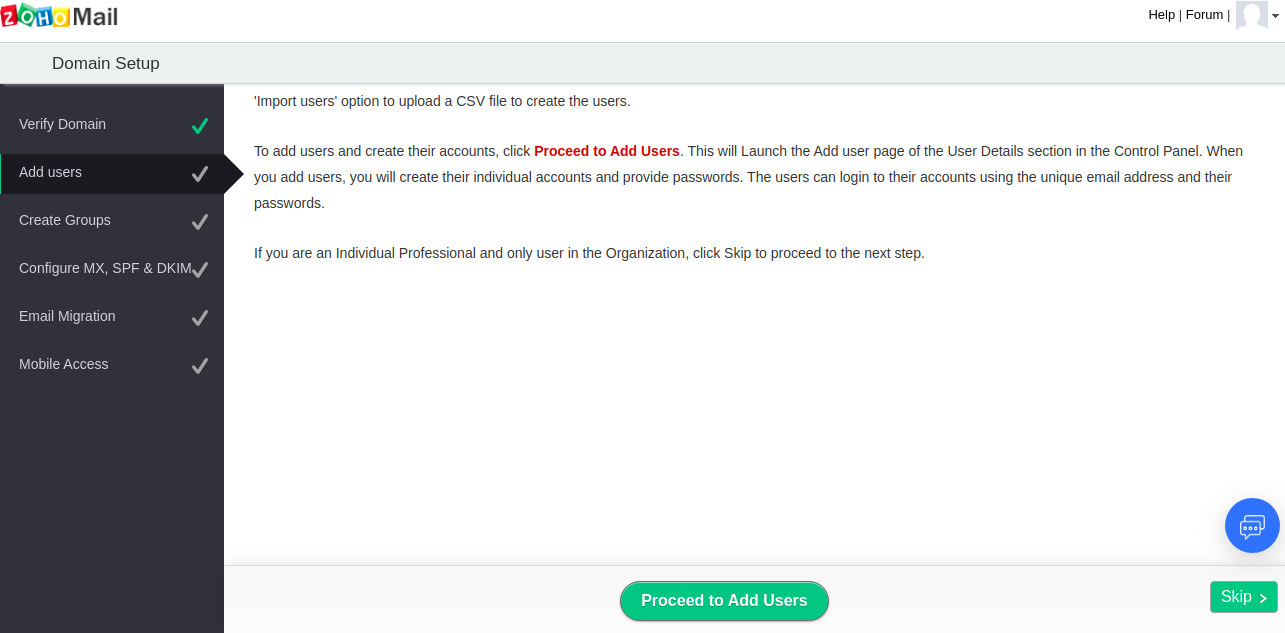
- If you want to add multiple mail account, add from here. Otherwise, skip by clicking on
Back to Setup.
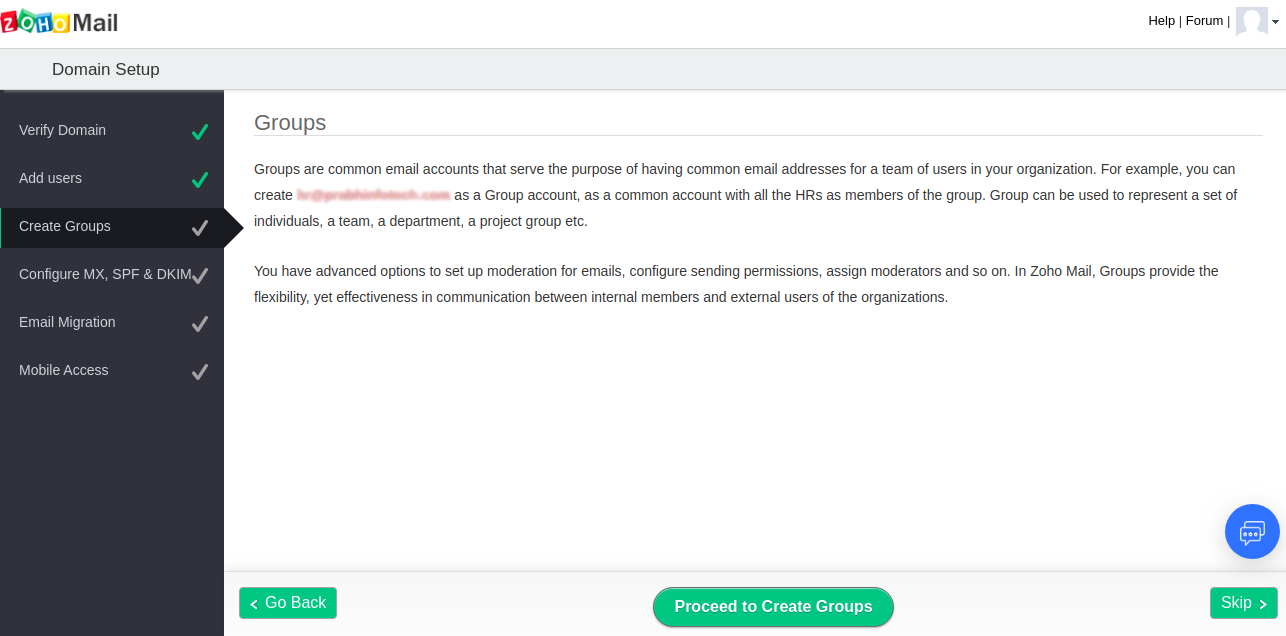
- If we want to create the Common group then we can create from here otherwise skip this option by click on
Skip >.
- In this step you have to make change in your DNS records. So, mail should be transfer to the Zoho mail server. Click on
Proceed.
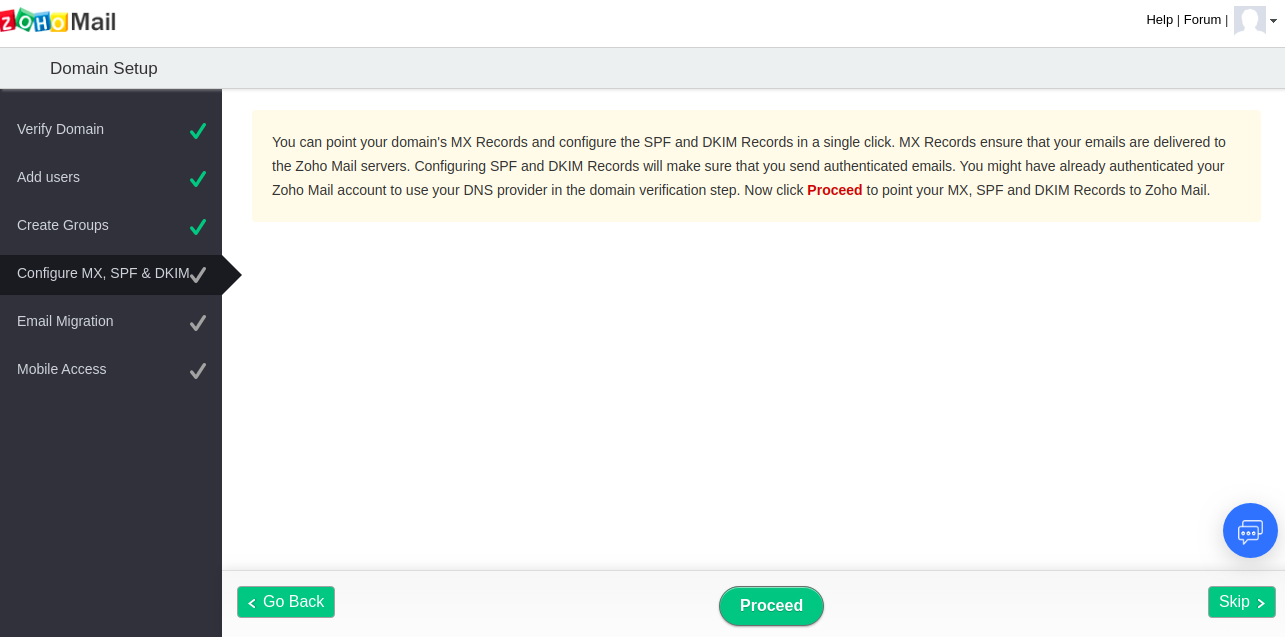
- The process of changing the MX records will take 24 – 48 hours. If you have not verified your domain then you have to manually enter the DNS records zone in your hosting account.
Read Also: How to Create Directories in Linux Using (mkdir Command)
Email account Migration Guidelines –
Click on Next.
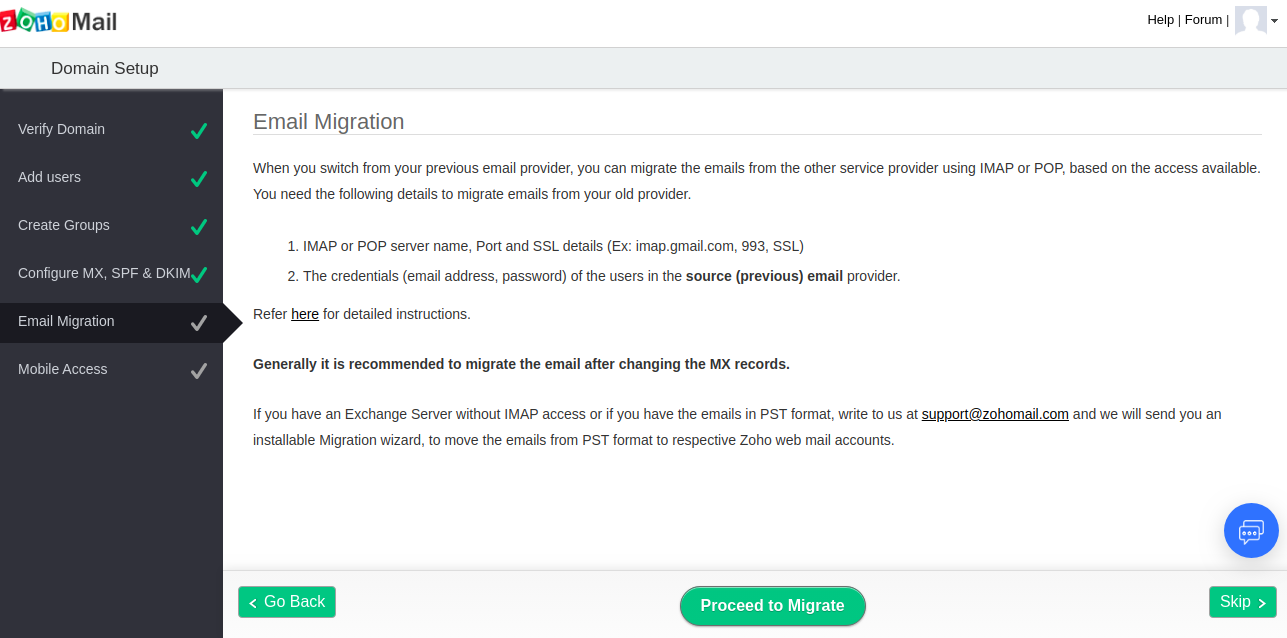
- If you want to migrate your old mails from old mail server to Zoho mail server, click on
Proceed to Migrateotherwise you can skip this step by clicking onSkipand move on to the Next step.
Migration Steps
- Add the migration details.
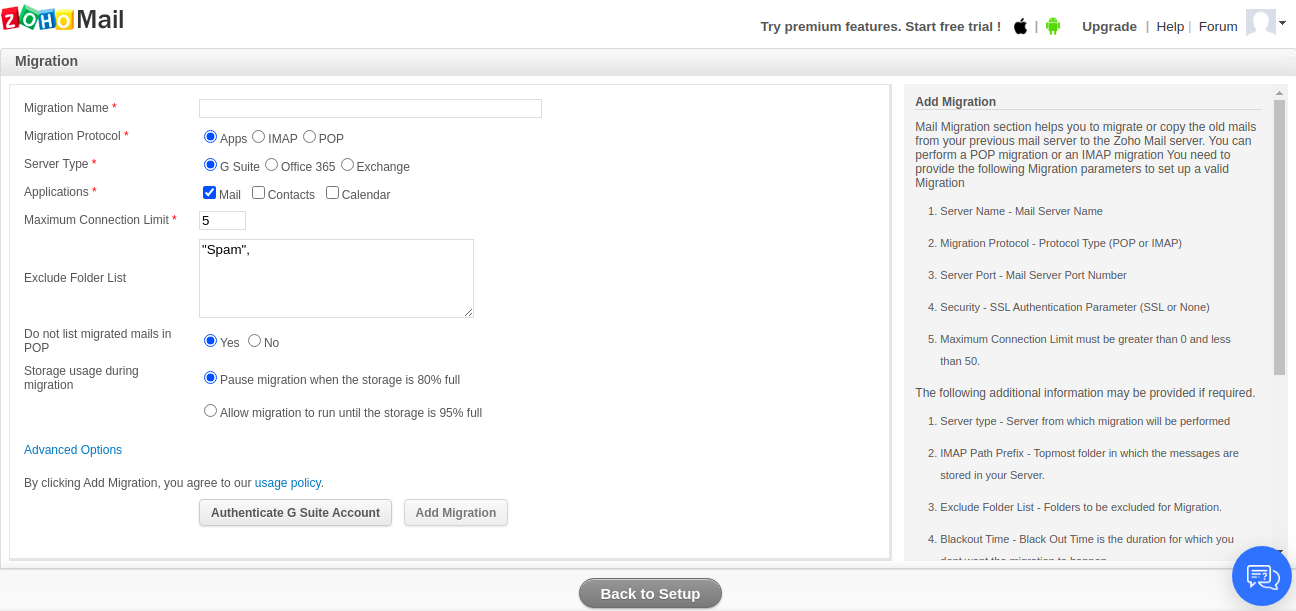
Fill in the details as per your source mail server:
Migration Name :- Create a name for the migration process.Migration Protocol :- Select the protocol from which protocol you want to migrate. For each protocol, The Server Type will be different. Choose the Server Type as per the source server details.Application :- This Option will only be available in the Apps and IMAP section. In this, you will see three options (Mails, Contacts, and Calendar). I want to migrate contacts and calendars with mails, you can select from here.Server Name :- Enter the IP address / Domain name / Hostname of the source server. This option is only available in IMAP and POP.Security :- Select SSL if the source server using only a secure port otherwise select
None. This option will only be for IMAP and POP.Server Port :- It will automatically choose a port according to the Security. This option will only be for IMAP and POP.Maximum Connection Limit : – Leave as default. If you want to increase the speed of migration then you can increase the value.Exclude Folder List :- Enter the name of the folder which you want to exclude while migration. By default, it will select the Spam Folder. I want to migrate all mails including the Spam mails then remove the Span from the list.
Leave the rest of the setting to default.
Click on Add Migration.
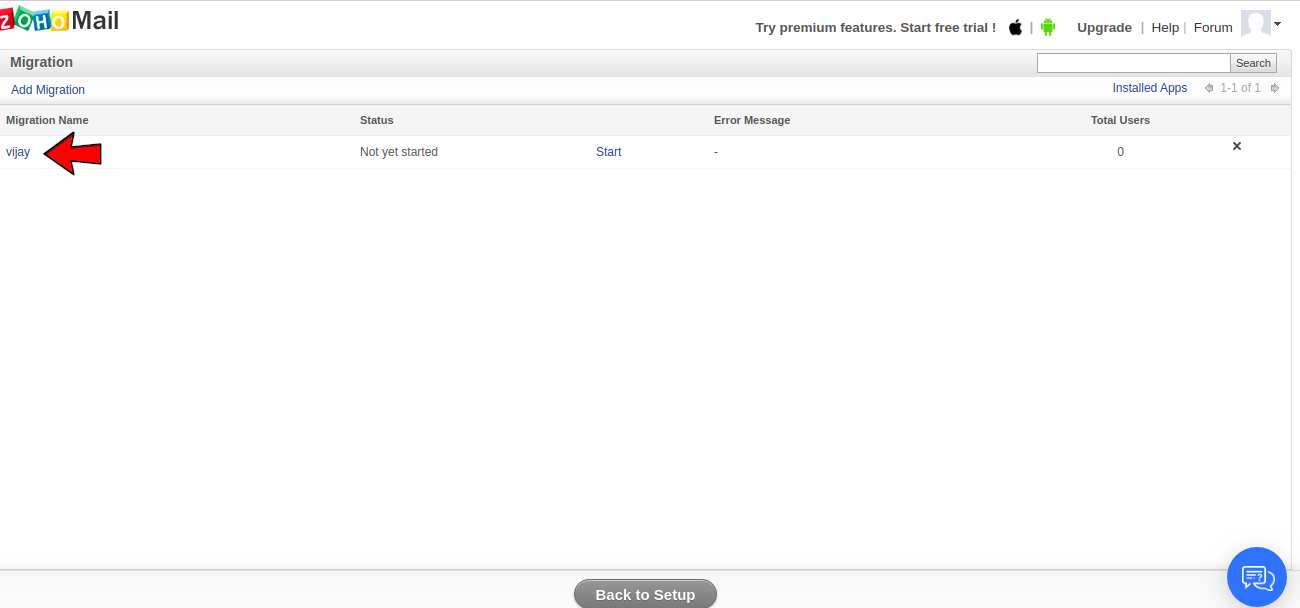
- We have created a migration named as
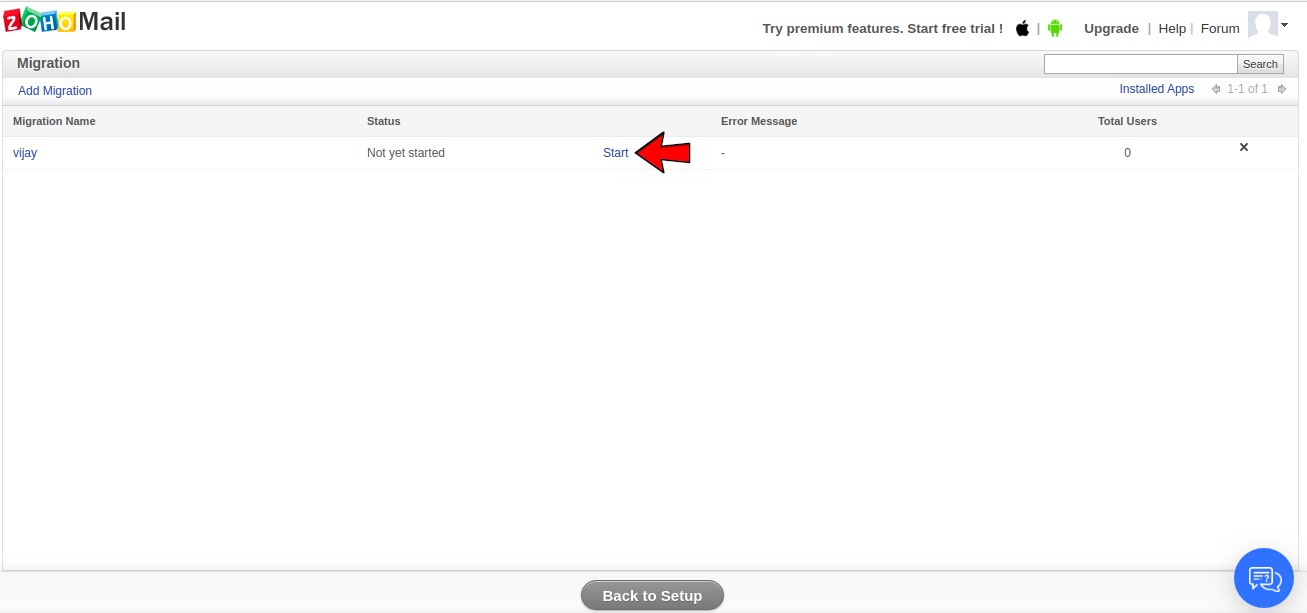
vijay, click on it.
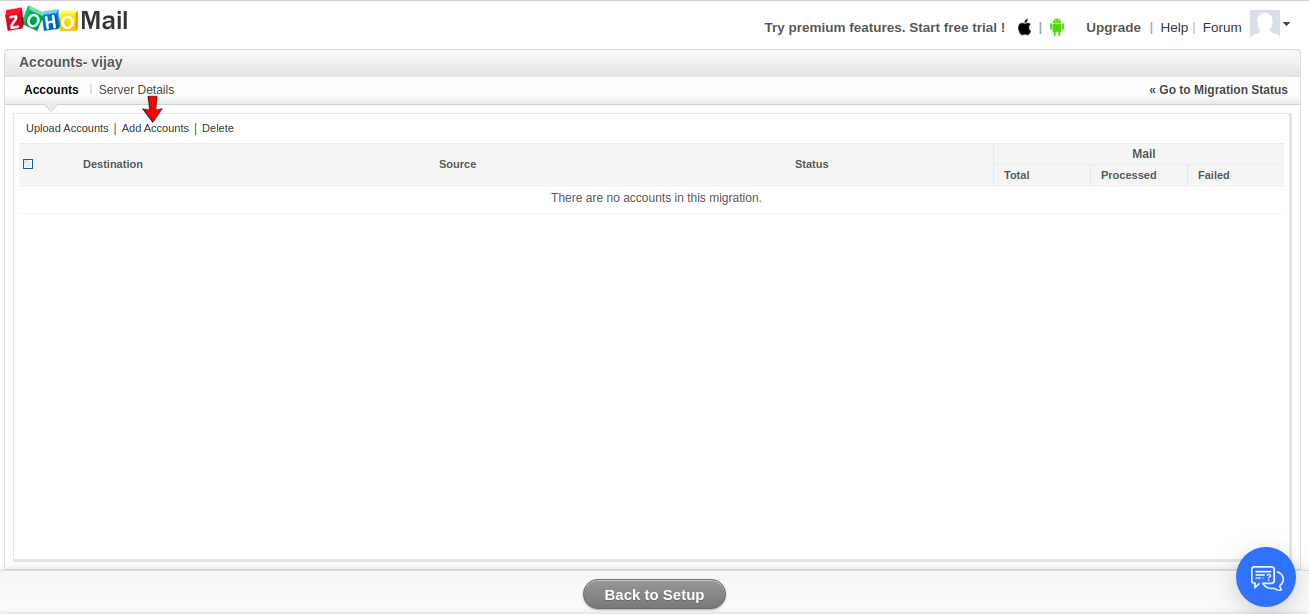
- Click on the
Add Accountto add mails account.
- Add the details of mail accounts which you want to migrate.
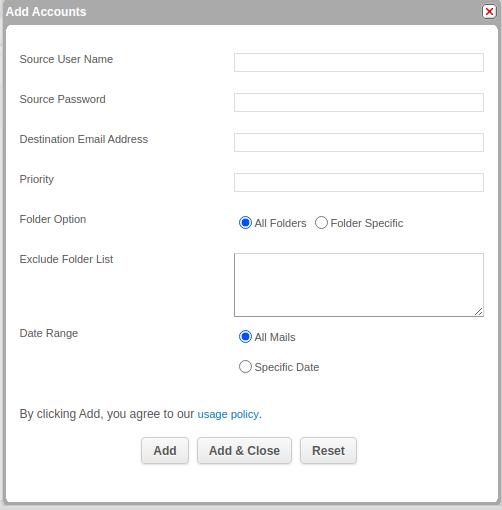
Fill in the details below those are required from source server:
Source User Name :- Enter the details of the source mail id.Source Password :- Input the password of the source mail account.Destination Email Address :- Enter the mail id on which you want to migrate the mails.Priority :- Set the priority to 1.Folder Option :- If you want to migrate mails from a specific folder, click on Folder Specific option then select the desired folder. Otherwise, leave it to default.Exclude Folder List :- If you want to exclude some folders, enter the names of the folder.Date Range :- I want to migrate mails from a specific date, then you can use this option.
Click on Add. If want to add multiple mail account you can add them from here.
- Click on
Start. Migration will automatically start and migrate all the mails from old mail server to new mail account in Zoho server.
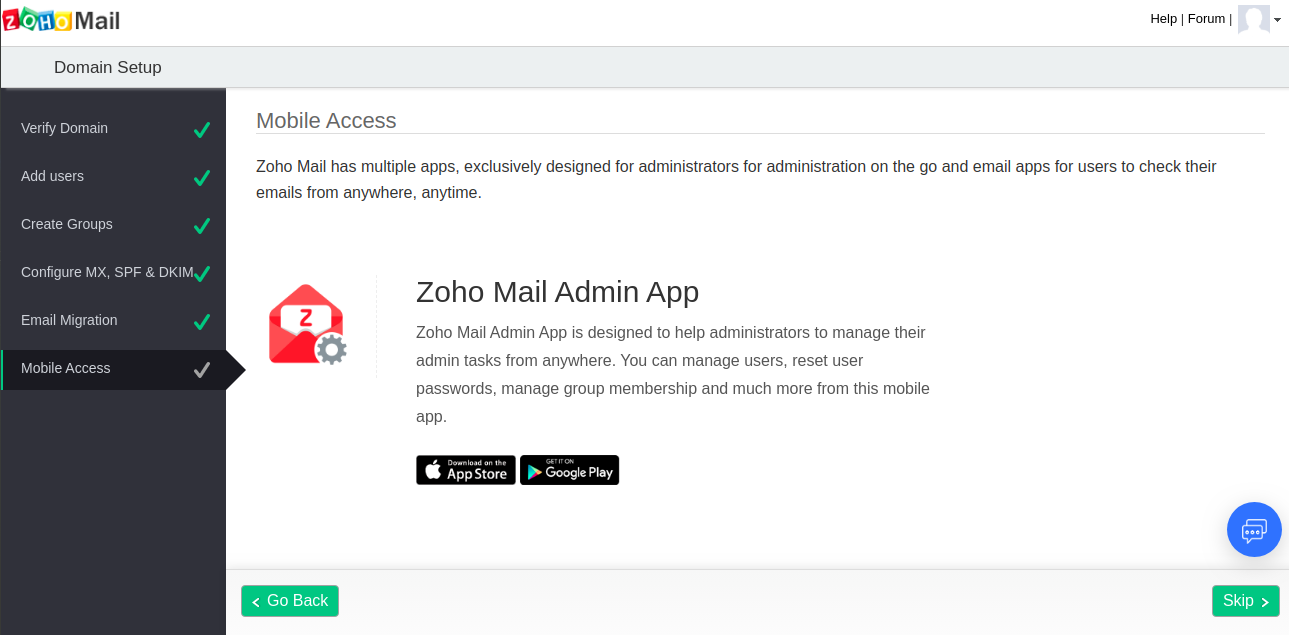
- Now, you successfully migrate your mail service on Zoho server. If you want to access Zoho mails on mobile, then you can use their app.
Conclusion
If your mail service is not good, not able to deliver mail to the destination. In this case,Zoho Mail service is the best option. Zoho Mail provides a variety of plans including the free plan. Through this tutorial, you can easily set up your mail services on Zoho Mails.
If you guys have any queries related to this Migrate Mail service to Zoho tutorial. Let me know in the comments.


Leave a Reply